Tips for Forming a Stent On a Model
How to Make an Optimal Stent
By the Numbers… Step by Step.
There’s a definite art to making an optimal stent, and the procedures detailed here are designed to help you and your whitening staff perfect the art.
1. Document the patient’s initial tooth coloring. Take a photo that includes the shade guide and record the shade number to establish a baseline. This will provide both you and your patient with a good point of reference.
2. Fill the impression tray with impression material. The material should come to the top anterior of the impression tray.
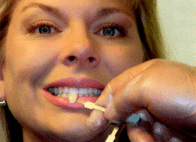
3. Take the impression – Push the impression tray over the teeth until the material is covering the full depth of the teeth,in order to get detail of the gingival margins. Hold it carefully without movement to allow the material to set. Remove the tray carefully by leveraging it off the molars first. Rinse and wrap the impression in a damp paper towel. Let it set until it becomes firm.
4. Take the impression – Push the impression tray over the teeth until the material is covering the full depth of the teeth,in order to get detail of the gingival margins. Hold it carefully without movement to allow the material to set. Remove the tray carefully by leveraging it off the molars first. Rinse and wrap the impression in a damp paper towel. Let it set until it becomes firm.
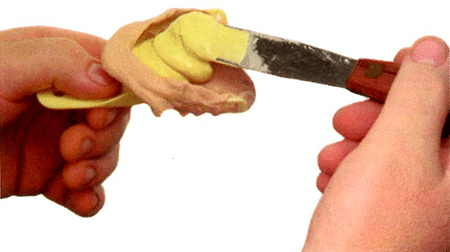
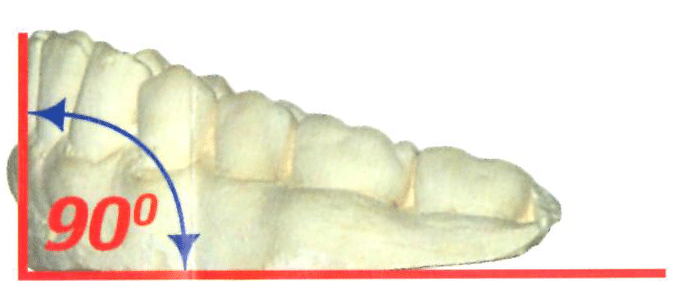
5. Prepare the model – Soak the model in water for easiest separation. Remove the stone model from the impression. Grind down the base of the model so the central incisors are pointing upward in a 90° angle from the floor of the vacuum machine.
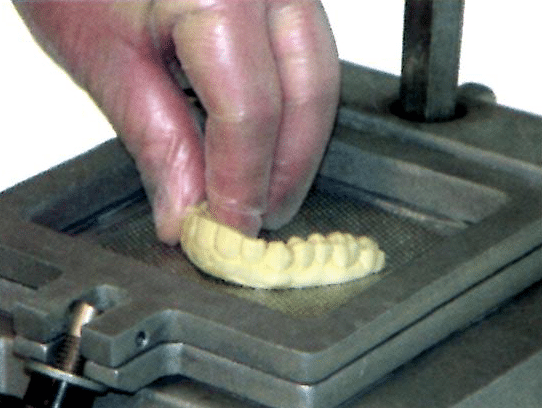
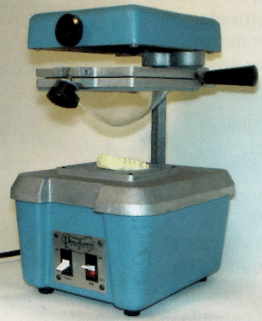
6. Put the model onto the vacuum machine one at a time.
Tip: Dampen the model before placing it on the vacuum. This will make it easier to remove the EVA from the model.
7. Select the EVA and insert the sheet into the vacuum machine – .040 is the standard – or use .080 for bruxers. Clamp the sheet down.
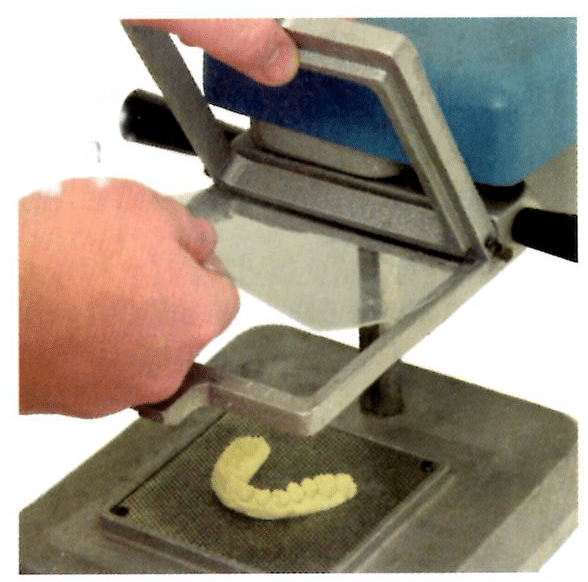
8. Engage the vacuum machine heater to heat the EVA. Allow the EVA to sag a minimum of 2 inches. The lower the sag, the thinner the tray. Lower the EVA onto the model until the EVA bracket is fully down into place.
9. Engage the suction for 15-20 seconds to ensure a good form. Push the heating element aside (TURN OFF VACUUM AND HEAT) with moistened or gloved fingers, immediately apply labial lingual pressure from cuspid, lateral, centrals, lateral, and cuspid. Allow the tray to sit on the vacuum machine for a few minutes to cool. Then remove model and stent.
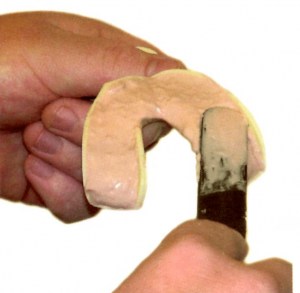
10. Trim away the excess EVA.
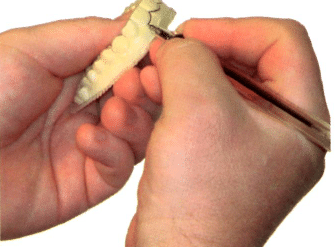
11. Use a ballpoint pen to trace a solid line along the gingival margin as a guide for trimming.
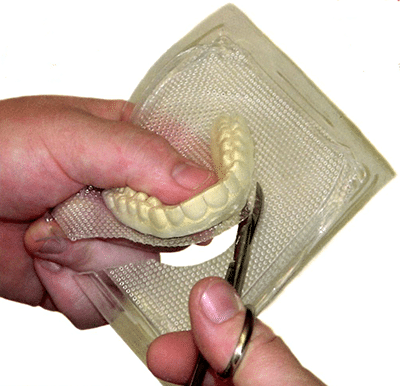
12. Separate tray from model. Trim the tray with a pair of scissors to insure that the tray will not touch the soft tissue.
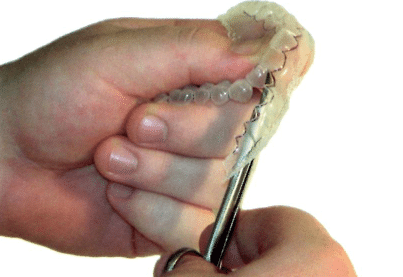
Optional: Flame the EVA lightly with a laboratory torch to remove any rough edges.
13. Run the stent under cold water using your fingers and fingernails to rub off the pen ink.
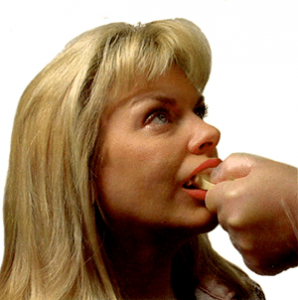
14. Once the tray is trimmed, check the fit by re-applying the tray to the model.
A Technical Tip: If a stent sags open and fails to close with a tight fit you’ll be glad to know that there’s an easy fix:
- Hold the stent under hot tap water for 5-10 seconds to make the material pliable.
- Squeeze the stent between your thumb and second finger. Use your index to push the middle of the stent into place.
- Holding it in place, run cold tap water over the stent for 15-20 seconds.
Update Your Dental Practice